Partner Connect Ocrolus Product Setup
After completing the preceding steps to enable Ocrolus with document classification, you are prepared to utilize the Ocrolus Encompass Partner Connect (EPC) product. This tool lets you view how Ocrolus indexed your attachments and import them into classified eFolder containers.
Accessing services management from the internet browser
The Encompass Web Application Admin user can configure EPC services through the Services Management submenu under the Company/User Setup menu.
To access this page from a Web Browser, perform the following steps:
-
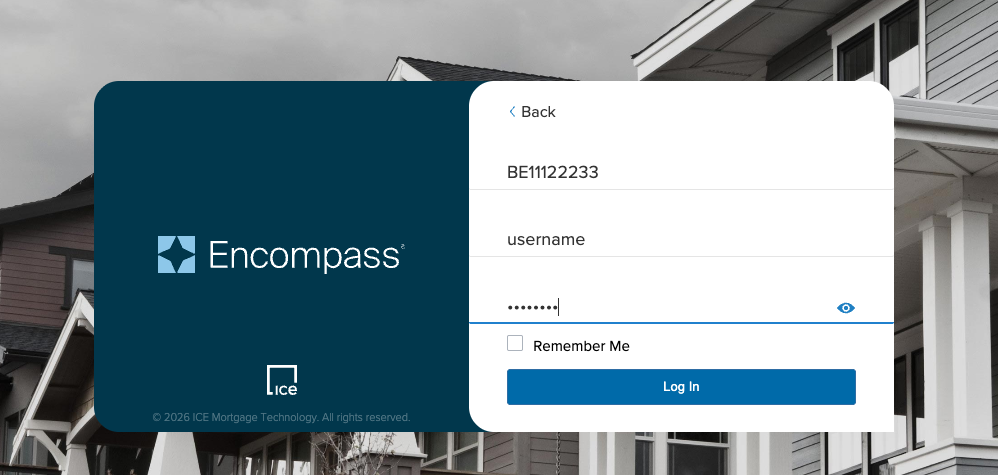
Sign in to the Encompass Web Application using your Encompass credentials.
-
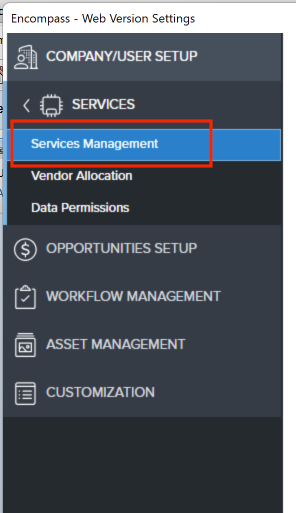
From the Home page, click SERVICES > Services Management at the top of the left-side panel.
-
From the upper right-hand corner, select Add Service.

-
From the category dropdown list, select the Additional Services option and then click on Retrieve Products.

-
In the Search all textbox, enter Ocrolus and click Return.

-
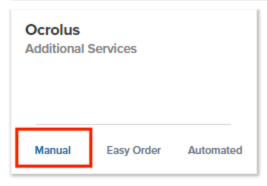
From the Ocrolus section, select Manual.
-
To continue the product configuration, see the Adding the Ocrolus Product section and perform the steps accordingly.
Accessing services management from the SmartClient
To access this page from your SmartClient application, perform the following steps:
-
Sign in to the SmartClient using your Encompass credentials.
-
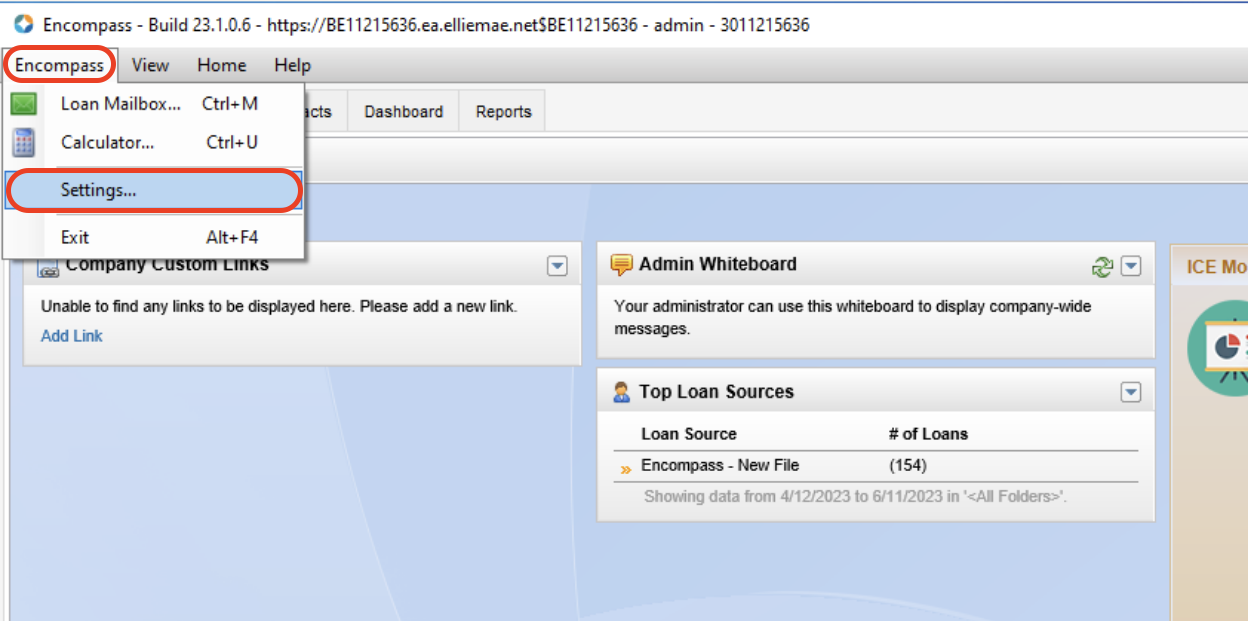
Click the Encompass menu and select the Settings option from the dropdown list.
-
From the upper right-hand corner, select Add Service.

-
From the category dropdown list, select the Additional Services option and then click on Retrieve Products.

-
In the Search all textbox, enter Ocrolus and click Return.

-
For further steps, see the Adding the Ocrolus Product section.
Adding the Ocrolus product
Upon reaching the Services Management page successfully, you can proceed to add the Ocrolus Product.
To add the Ocrolus Product, perform the following steps:
-
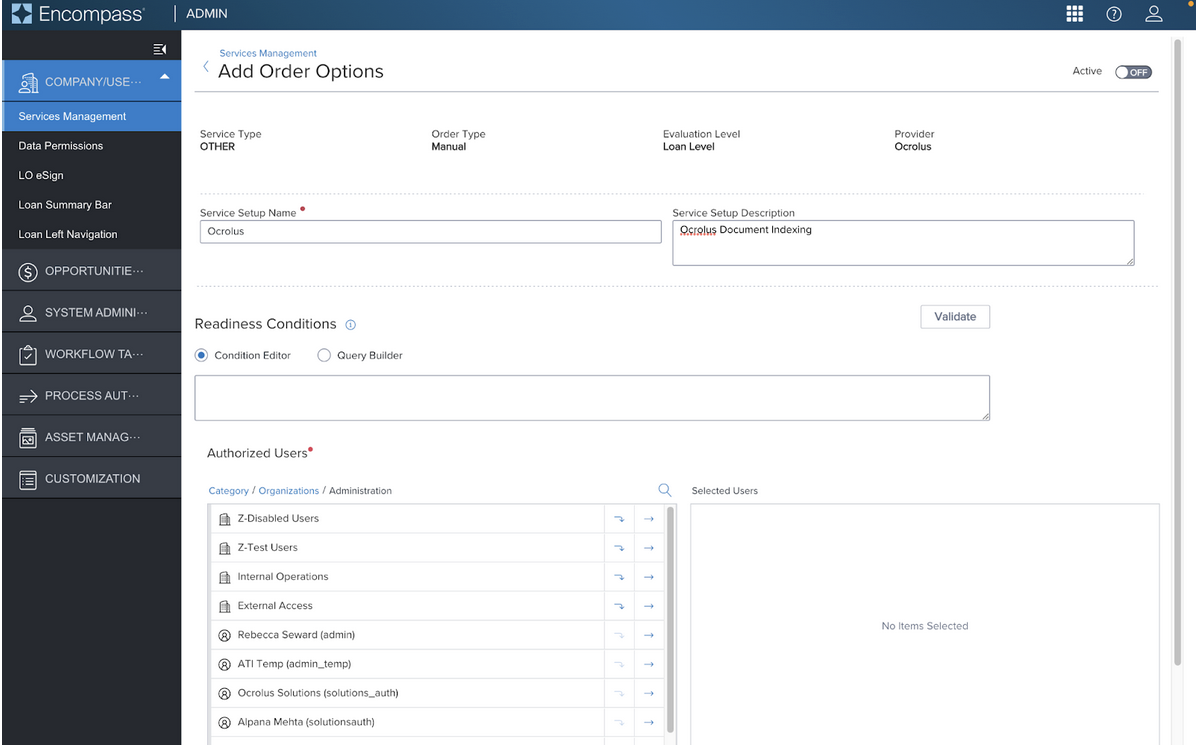
Configure the product by adding a name and description of your choosing, and selecting the Organizations/Users to whom you would like to have access to this product.
-
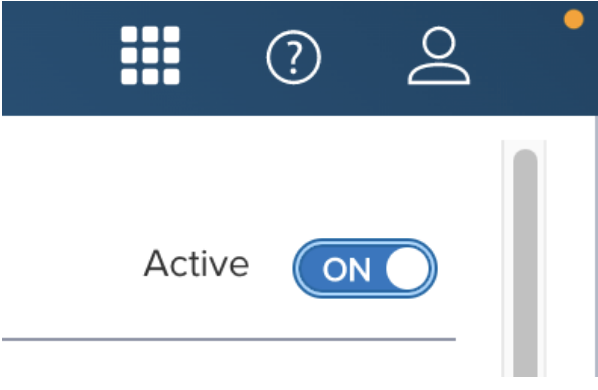
Enable the Active toggle button available at the top right corner of your screen to activate the product, and then click the Save button in the bottom right corner to save your changes.
-
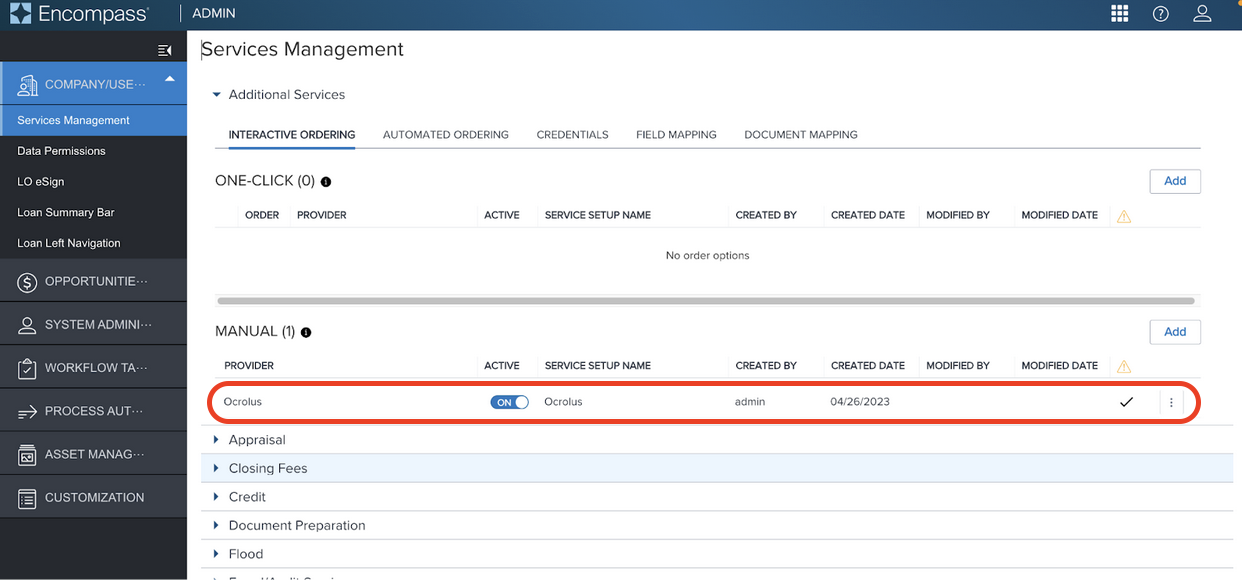
While navigating back to the Additional Services, you will see that Ocrolus has been added as a MANUAL Service Provider.
Go-live: initiating Ocrolus classification
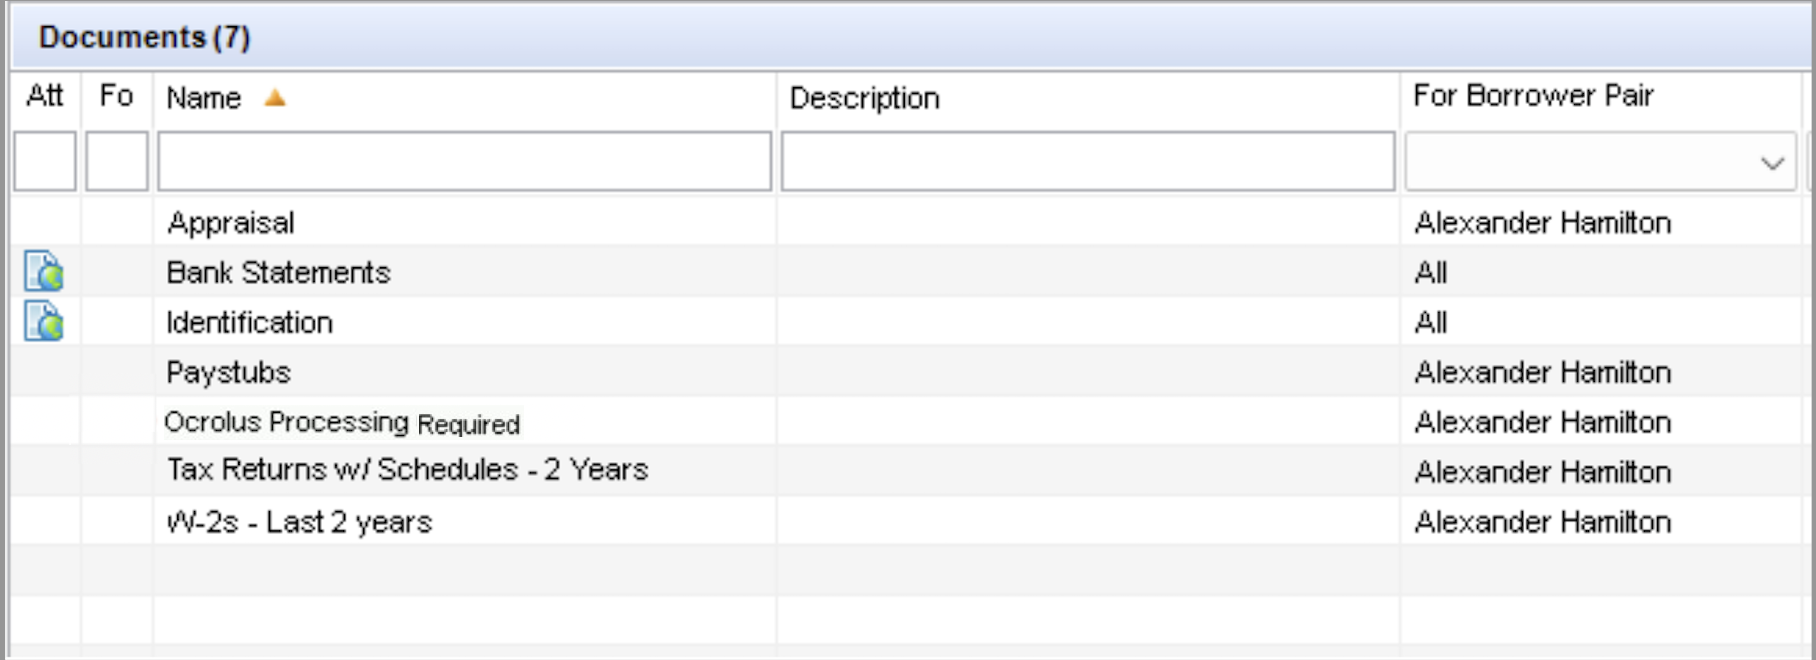
To start an Ocrolus classification job, you need to configure a document within your Encompass instance for Ocrolus. It's advisable to name the document Ocrolus Processing Required, although the Encompass Administrator can customize it as needed. Once this document is configured, inform your Ocrolus implementation specialist so that they can set up the appropriate webhook notifications for this container.
Ocrolus processing required
Upon receiving documents that necessitate Ocrolus processing, the end user should transfer all the documents into the Ocrolus Processing Required container (or any other designated label). Once all the documents have been moved, save the loan file.
Once the loan has been saved, Ocrolus will receive a webhook notification from the loan application and fetch the attachments from the document for processing.
Accessing Ocrolus Dashboard through Encompass Smartclient
After receiving notification from Ocrolus that your documents have completed processing, it is time to examine the results in the Ocrolus dashboard.
Additional services
To access the Additional Services, perform the following steps:
-
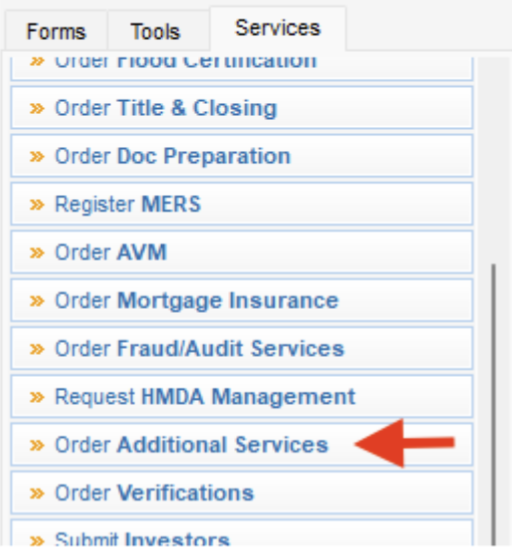
From the Encompass loan application, navigate to the Services > Order Additional Services.
-
The list of services available in the Encompass instance is populated under the Service tab. Click on the Order Additional Services option.
-
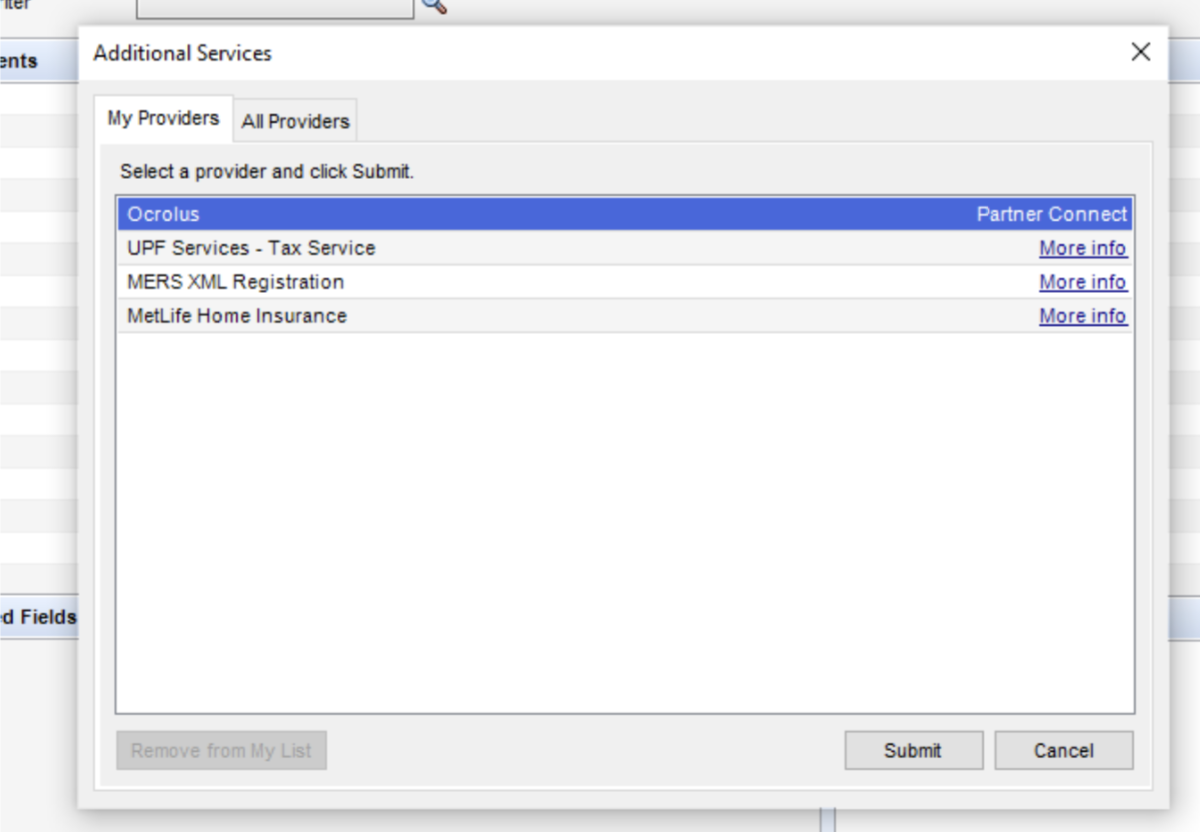
The list of providers available for the Additional Services is populated under the My Providers. Select Ocrolus and click Submit.
Updated about 1 month ago